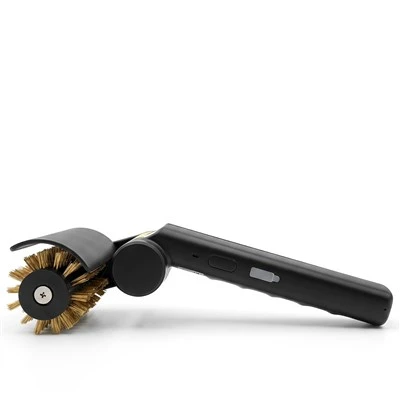
Cleaning musical instruments is a crucial aspect of maintaining their performance and longevity. An electric cleaning brush can be a game-changer in this process, offering efficiency and thoroughness that manual cleaning may lack. As a supplier of high - quality electric cleaning brushes, I'm excited to share with you how to use these tools effectively for cleaning musical instruments.
Understanding Your Electric Cleaning Brush
Before you start cleaning, it's essential to understand the different types of electric cleaning brushes available. We offer a variety of models, each with its unique features and benefits.
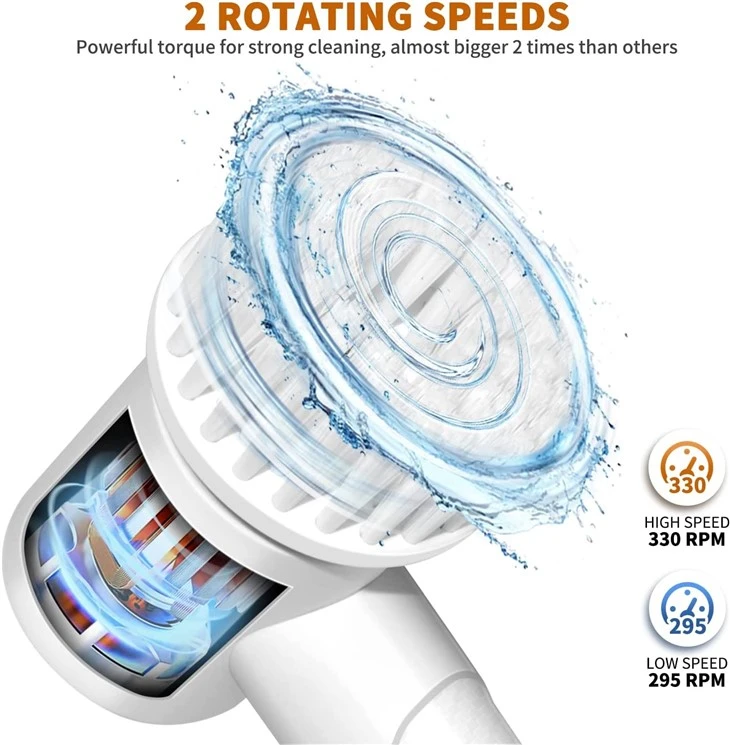
The High - speed Cleaning Brush is designed for quick and efficient cleaning. With its high - speed rotation, it can remove dirt and grime from the surface of musical instruments in no time. This brush is perfect for large - surface areas and stubborn stains.
The Handheld Cleaning Brush provides more control and precision. It's ideal for cleaning intricate parts of musical instruments, such as the keys of a piano or the frets of a guitar. Its ergonomic design allows for comfortable use, even during extended cleaning sessions.
Our Electric Cleaning Brush 9 in 1 is a versatile option that comes with multiple brush heads. This set can adapt to different cleaning needs, whether you're cleaning a brass instrument, a stringed instrument, or a percussion instrument.

Pre - cleaning Preparation
- Gather Your Supplies: Besides the electric cleaning brush, you'll need cleaning solutions suitable for your musical instrument. For example, a mild soap solution can be used for most instruments, but for brass instruments, a specialized brass cleaner may be required. Also, have some clean, soft cloths on hand for drying and polishing.
- Inspect the Instrument: Before you start cleaning, carefully examine the musical instrument for any loose parts, cracks, or damage. If you notice any issues, it's best to consult a professional instrument technician before proceeding with the cleaning.
- Remove Accessories: Take off any detachable parts, such as strings, mouthpieces, or drumheads. This will make the cleaning process more thorough and prevent damage to these accessories.
Cleaning Different Types of Musical Instruments
Stringed Instruments (Guitar, Violin, etc.)
- Clean the Strings: Use a soft - bristle brush head on your electric cleaning brush to gently clean the strings. Start from the bridge and work your way up to the tuning pegs. Be careful not to apply too much pressure, as this can damage the strings. After brushing, wipe the strings with a clean cloth to remove any remaining dirt and debris.
- Clean the Fretboard: Apply a small amount of fretboard cleaner to the brush head and carefully clean the fretboard. Move the brush along the frets in a back - and - forth motion. This will remove dirt, grime, and old rosin. Wipe the fretboard dry with a cloth.
- Clean the Body: Use a different brush head to clean the body of the instrument. Start from the top and work your way down, paying attention to the edges and corners. If there are any stubborn stains, you can use a slightly damp cloth along with the brush for better results. Finally, dry the body with a clean, dry cloth.
Wind Instruments (Trumpet, Flute, etc.)
- Clean the Mouthpiece: Remove the mouthpiece from the instrument and soak it in a mild cleaning solution for a few minutes. Then, use a small brush head on your electric cleaning brush to clean the inside and outside of the mouthpiece. Rinse it thoroughly with water and dry it with a cloth.
- Clean the Tubing: For brass instruments, use a snake brush or a long, thin brush head to clean the inside of the tubing. Insert the brush into the tubing and move it back and forth to remove dirt and moisture. For woodwind instruments, use a cleaning swab or a specialized cleaning rod with a brush head.
- Clean the Exterior: Use a soft - bristle brush head to clean the exterior of the instrument. Pay attention to the valves, keys, and other moving parts. Wipe the instrument dry with a cloth to prevent rust and corrosion.
Percussion Instruments (Drums, Cymbals, etc.)
- Clean the Drumheads: Use a soft - bristle brush head to gently clean the drumheads. Start from the center and work your way out in a circular motion. Be careful not to scratch the drumheads. If there are any stubborn stains, you can use a mild cleaning solution and a damp cloth.
- Clean the Drumshell: Apply a small amount of drum cleaner to the brush head and clean the drumshell. Move the brush in a circular motion to remove dirt and fingerprints. Wipe the drumshell dry with a cloth.
- Clean the Cymbals: Use a cymbal cleaner and a soft - bristle brush head to clean the cymbals. Gently scrub the surface of the cymbals to remove dirt and oxidation. Rinse the cymbals with water and dry them thoroughly with a cloth.
Post - cleaning Care
- Reassemble the Instrument: Once all the parts are clean and dry, carefully reassemble the musical instrument. Make sure all the parts are properly attached and adjusted.
- Lubricate Moving Parts: For instruments with moving parts, such as valves on a brass instrument or keys on a woodwind instrument, apply a small amount of lubricant to ensure smooth operation.
- Store the Instrument Properly: Store the musical instrument in a clean, dry place. Use a protective case or cover to prevent dust and damage.
Tips for Using an Electric Cleaning Brush
- Start with a Low Speed: When using the electric cleaning brush for the first time on a musical instrument, start with a low speed setting. This will allow you to get a feel for the brush and prevent any accidental damage to the instrument.
- Change Brush Heads Regularly: To ensure effective cleaning, change the brush heads regularly, especially if they become worn or dirty.
- Follow the Manufacturer's Instructions: Always follow the manufacturer's instructions for both the electric cleaning brush and the musical instrument. This will help you avoid any potential problems and ensure the best cleaning results.
Conclusion
Using an electric cleaning brush can significantly simplify the process of cleaning musical instruments. With the right brush and proper techniques, you can keep your instruments in top - notch condition, enhancing their performance and lifespan. As a supplier of high - quality electric cleaning brushes, we are committed to providing you with the best products and support. If you're interested in purchasing our electric cleaning brushes for your musical instrument cleaning needs, or if you have any questions, please feel free to contact us for a procurement discussion. We look forward to serving you and helping you keep your musical instruments clean and beautiful.
References
- Professional Instrument Cleaning Guides
- Manufacturer's Manuals for Electric Cleaning Brushes and Musical Instruments